
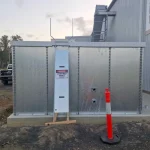
Water tanks play a critical role in storing and supplying water across residential, commercial, and industrial environments. Over time, however, even the most durable tanks begin to show signs of wear. Instead of full replacement, many systems can be restored through refurbishment, extending their lifespan and improving performance.
In this article, we’ll break down the tank refurbishment process step by step and explain what typically happens during each stage.
What is Tank Refurbishment?
Tank refurbishment is the process of restoring an existing water storage system to improve its structural integrity, safety, and performance. This may include cleaning, repairing, recoating, or upgrading components without completely replacing the tank.
Refurbishment is commonly used for:
- Concrete tanks
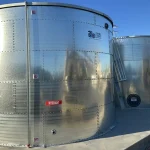
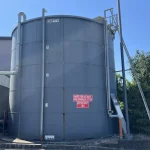
- Steel tanks
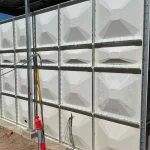
- GRP and FRP tanks
- Fire water storage systems
It is often a practical option when the tank structure is still sound but requires maintenance or upgrades.
When is Refurbishment Needed?
Before starting the tank refurbishment process, it’s important to identify whether refurbishment is necessary.
Common signs include:
- Visible cracks or surface damage
- Corrosion or coating deterioration
- Water leakage
- Reduced water quality
- Sediment buildup
If these issues are detected early, refurbishment can prevent more serious structural problems.
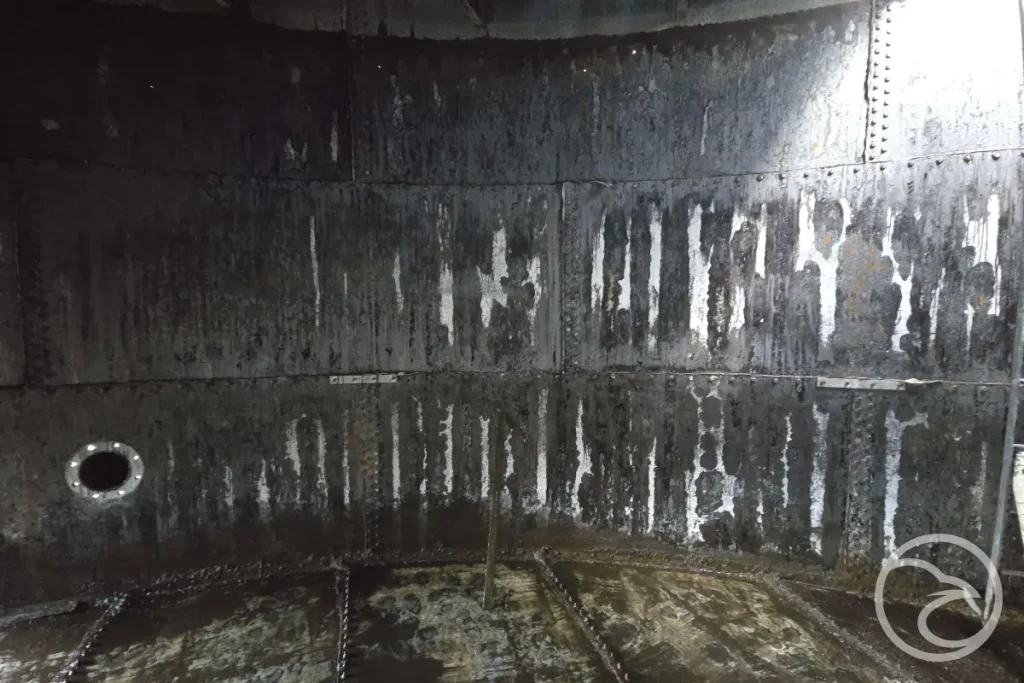
Step 1: Inspection and Assessment
The first stage of any refurbishment project is a detailed inspection.
What it involves:
- Visual inspection of internal and external surfaces
- Checking for cracks, corrosion, and leaks
- Evaluating structural integrity
- Reviewing previous maintenance records
This step helps determine the extent of damage and defines the scope of work.
Step 2: Draining and Cleaning
Once the inspection is complete, the tank is drained and prepared for cleaning.
Cleaning process includes:
- Removal of sludge and sediment
- High-pressure washing of internal surfaces
- Elimination of biological growth such as algae or bacteria
Proper cleaning ensures that all defects are visible and prepares the surface for repairs or coatings.
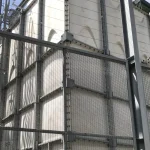
Step 3: Surface Preparation
Surface preparation is a critical stage in the tank refurbishment process. Without it, repairs and coatings may not adhere properly.
Typical preparation methods:
- Abrasive blasting or mechanical cleaning
- Removal of old coatings or damaged layers
- Smoothing of uneven surfaces
This step creates a clean and stable base for further work.
Step 4: Repairs and Structural Fixes
After preparation, any structural issues are addressed.
Common repairs include:
- Sealing cracks and joints
- Replacing damaged panels or sections
- Reinforcing weak areas
The goal is to restore the tank’s structural integrity and ensure it can safely hold water.
Step 5: Application of Protective Coatings or Linings
Protective coatings play a major role in extending the life of a refurbished tank.
This step may involve:
- Applying corrosion-resistant coatings
- Installing internal liners
- Using waterproof sealing systems
These layers protect the tank from future wear, chemical exposure, and moisture damage.
Step 6: Reassembly and Testing
Once repairs and coatings are complete, the tank is reassembled if necessary and prepared for testing.
Testing includes:
- Leak detection
- Structural checks
- Water-tightness testing
This ensures that the tank meets safety and performance standards before being returned to service.
Step 7: Refilling and Final Inspection
The final stage involves refilling the tank and conducting a last inspection.
Final checks:
- Monitoring water levels and pressure
- Ensuring no leaks are present
- Confirming proper operation of all components
After this step, the tank is ready for regular use.
Benefits of Following a Structured Refurbishment Process
A well-planned refurbishment process offers several advantages:
- Extends the lifespan of the tank
- Improves water quality and safety
- Reduces long-term maintenance costs
- Avoids the need for full replacement
- Enhances system performance
By following a structured approach, potential risks can be minimized, and long-term reliability can be improved.
Conclusion
The tank refurbishment process is a practical solution for restoring aging water storage systems. By following a step-by-step approach—from inspection and cleaning to repairs and testing—tanks can regain their functionality and continue operating efficiently.
Regular maintenance and timely refurbishment not only extend the life of the tank but also ensure safe and reliable water storage for years to come.

